In this short tutorial I’m going to take a look at using a clipping mask in Photoshop to constrain the visibility of one layer to that of the area of the layer underneath it, and how to use a layer blending mode to add extra realism.
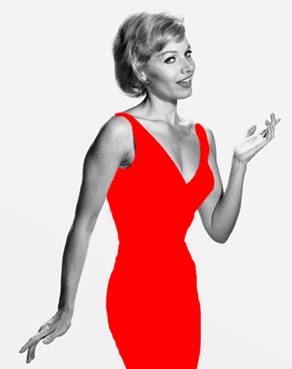
I’ve opened up an image of a woman with a check style dress on.

Using the quick mask, I made a selection of just the dress.
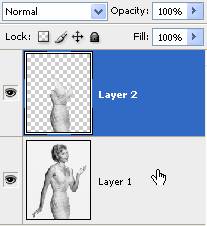
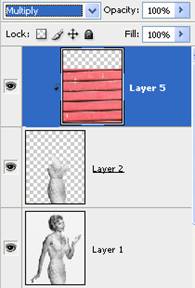
Copy the selection onto a new layer by pressing Ctrl + J (windows) or Cmd + J (Mac). The layers palette looks like this:
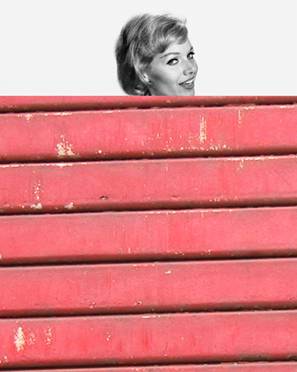
I picked up a few textures from Image After (a great website for free images of textures) and I pasted this one - into my Photoshop file, so that the red garage door covered all of the dress.
To create a clipping mask, press Ctrl + Alt + G (windows) or Cmd + Option + G (Mac). This uses the dress layer as a clipping mask for the red garage door layer at the top.
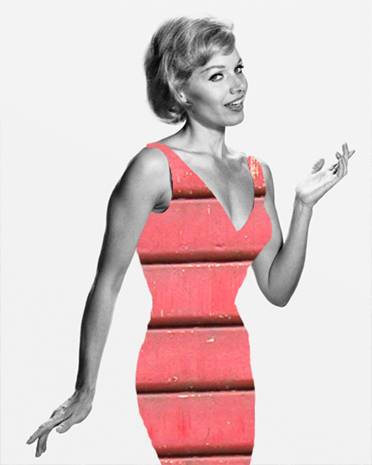
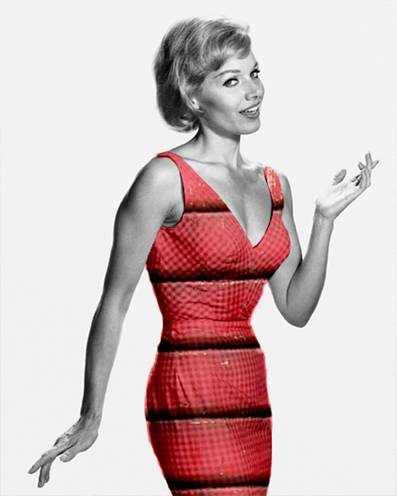
Now, to make it a little more interesting and authentic have a play around with some of the blending modes on the Layers palette.
I liked how the linear burn looked best for this example, but it’s a good idea to run through all the blending modes as they can give very different results depending on the images used.
Using A Clipping Mask & Blending Mode To Create New Clothes Texture - Photoshop Tutorial
Labels: Photoshop
Subscribe to:
Post Comments (Atom)

0 comments:
Post a Comment