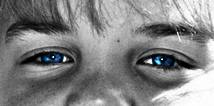
A very popular look I've noticed recently is a sort of haunted, gritty photo look. I saw an advertisement in a magazine for “House” the TV program with Hugh Laurie and it uses this effect of grittiness combined with bright coloured eyes.
In this tutorial I'm going to show you how to make something similar in Photoshop.
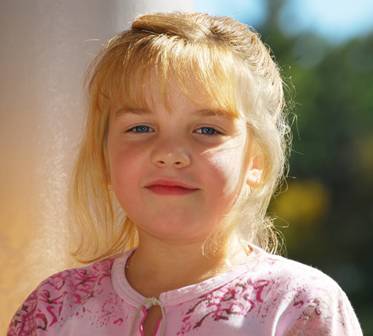
Step 1
Open an image. I got this picture of a beautiful little girl from morgue file. Thank you to the photographer!
Step 2
Make a duplicate by pressing Ctrl + J (windows), Cmd + J (mac).
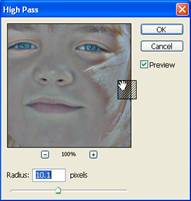
Step 3
With the duplicate layer selected, choose Filter > Other > High Pass. Enter 10 pixels in the dialog box and then click OK. Change the blending mode to Overlay.
Step 4
Make another duplicate of the original background image and drag it to the top of the layer stack.
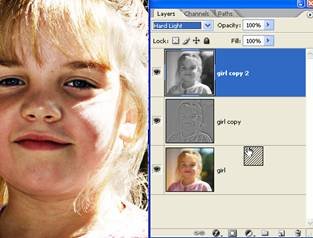
Step 5
With the top layer selected, choose Image > Adjustments > Desaturate to remove all colour from this layer. Then set the blending mode to Hard Light.
Step 6
Select all the layers and click on the layer palette menu. Choose Flatten Image from the menu. You should now have one single layer.
Step 7
Duplicate the layer and with the new layer selected, choose Filter > High Pass (this should be a the very top of the list of filters because it was the last one you used.)
Step 8
Set the blend mode of the top layer to Overlay.
Step 9
Select the two layers in the palette and once again on the palette menu, choose Flatten Image.
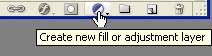
Step 10
Now we're going to add an adjustment layer. Click on the Create New Adjustment Layer icon at the bottom of the Layers palette and choose Curves.
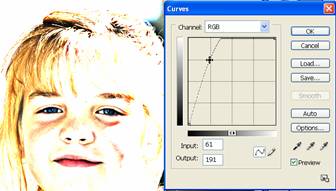
Step 11
On the curves chart, click on the line near the top right and drag the line to the left. This will dramatically lighten the image.
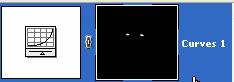
Step 12
Click on the adjustment layer thumbnail (the white square) to select it. Now press Ctrl + I (windows) or Cmd + I (mac) to invert the adjustment layer. It will appear fully black on thumbnail.
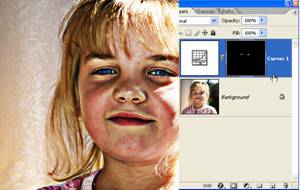
Step 13
Now select a small soft brush, set the foreground colour to white and paint on the girl's eyes. You should see some very bright colour eyes appearing. If you see white appearing then Undo (Ctrl Z), click on the black thumbnail and try again.
Step 14
Click on the background layer and use one of the selection tools to select each of the girl's iris'. Hold down Shift to make more than one selection.
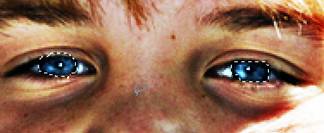
Step 15
Press Ctrl + Shift + I to invert the selection. Choose Image > Adjustments > Desaturate to remove colour from everywhere except the eyes.
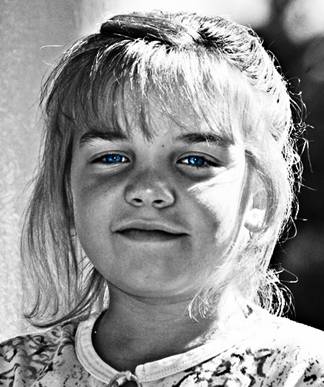
And that completes the image!
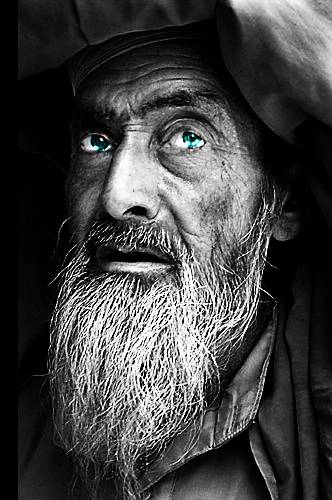
This method works very well on older faces where you can really see the creases and lines. Here's another example achieved using the same steps as above.
Photoshop Photo Effect - Haunted Grungy Look - Photoshop Tutorial
Labels: Photoshop
Subscribe to:
Post Comments (Atom)

0 comments:
Post a Comment